Blog
Artisan Geometry
Jim Tolpin shares three ways to generate a right angle using old school methods with just a compass and straight edge. Note, the one method utilizing a triplet…
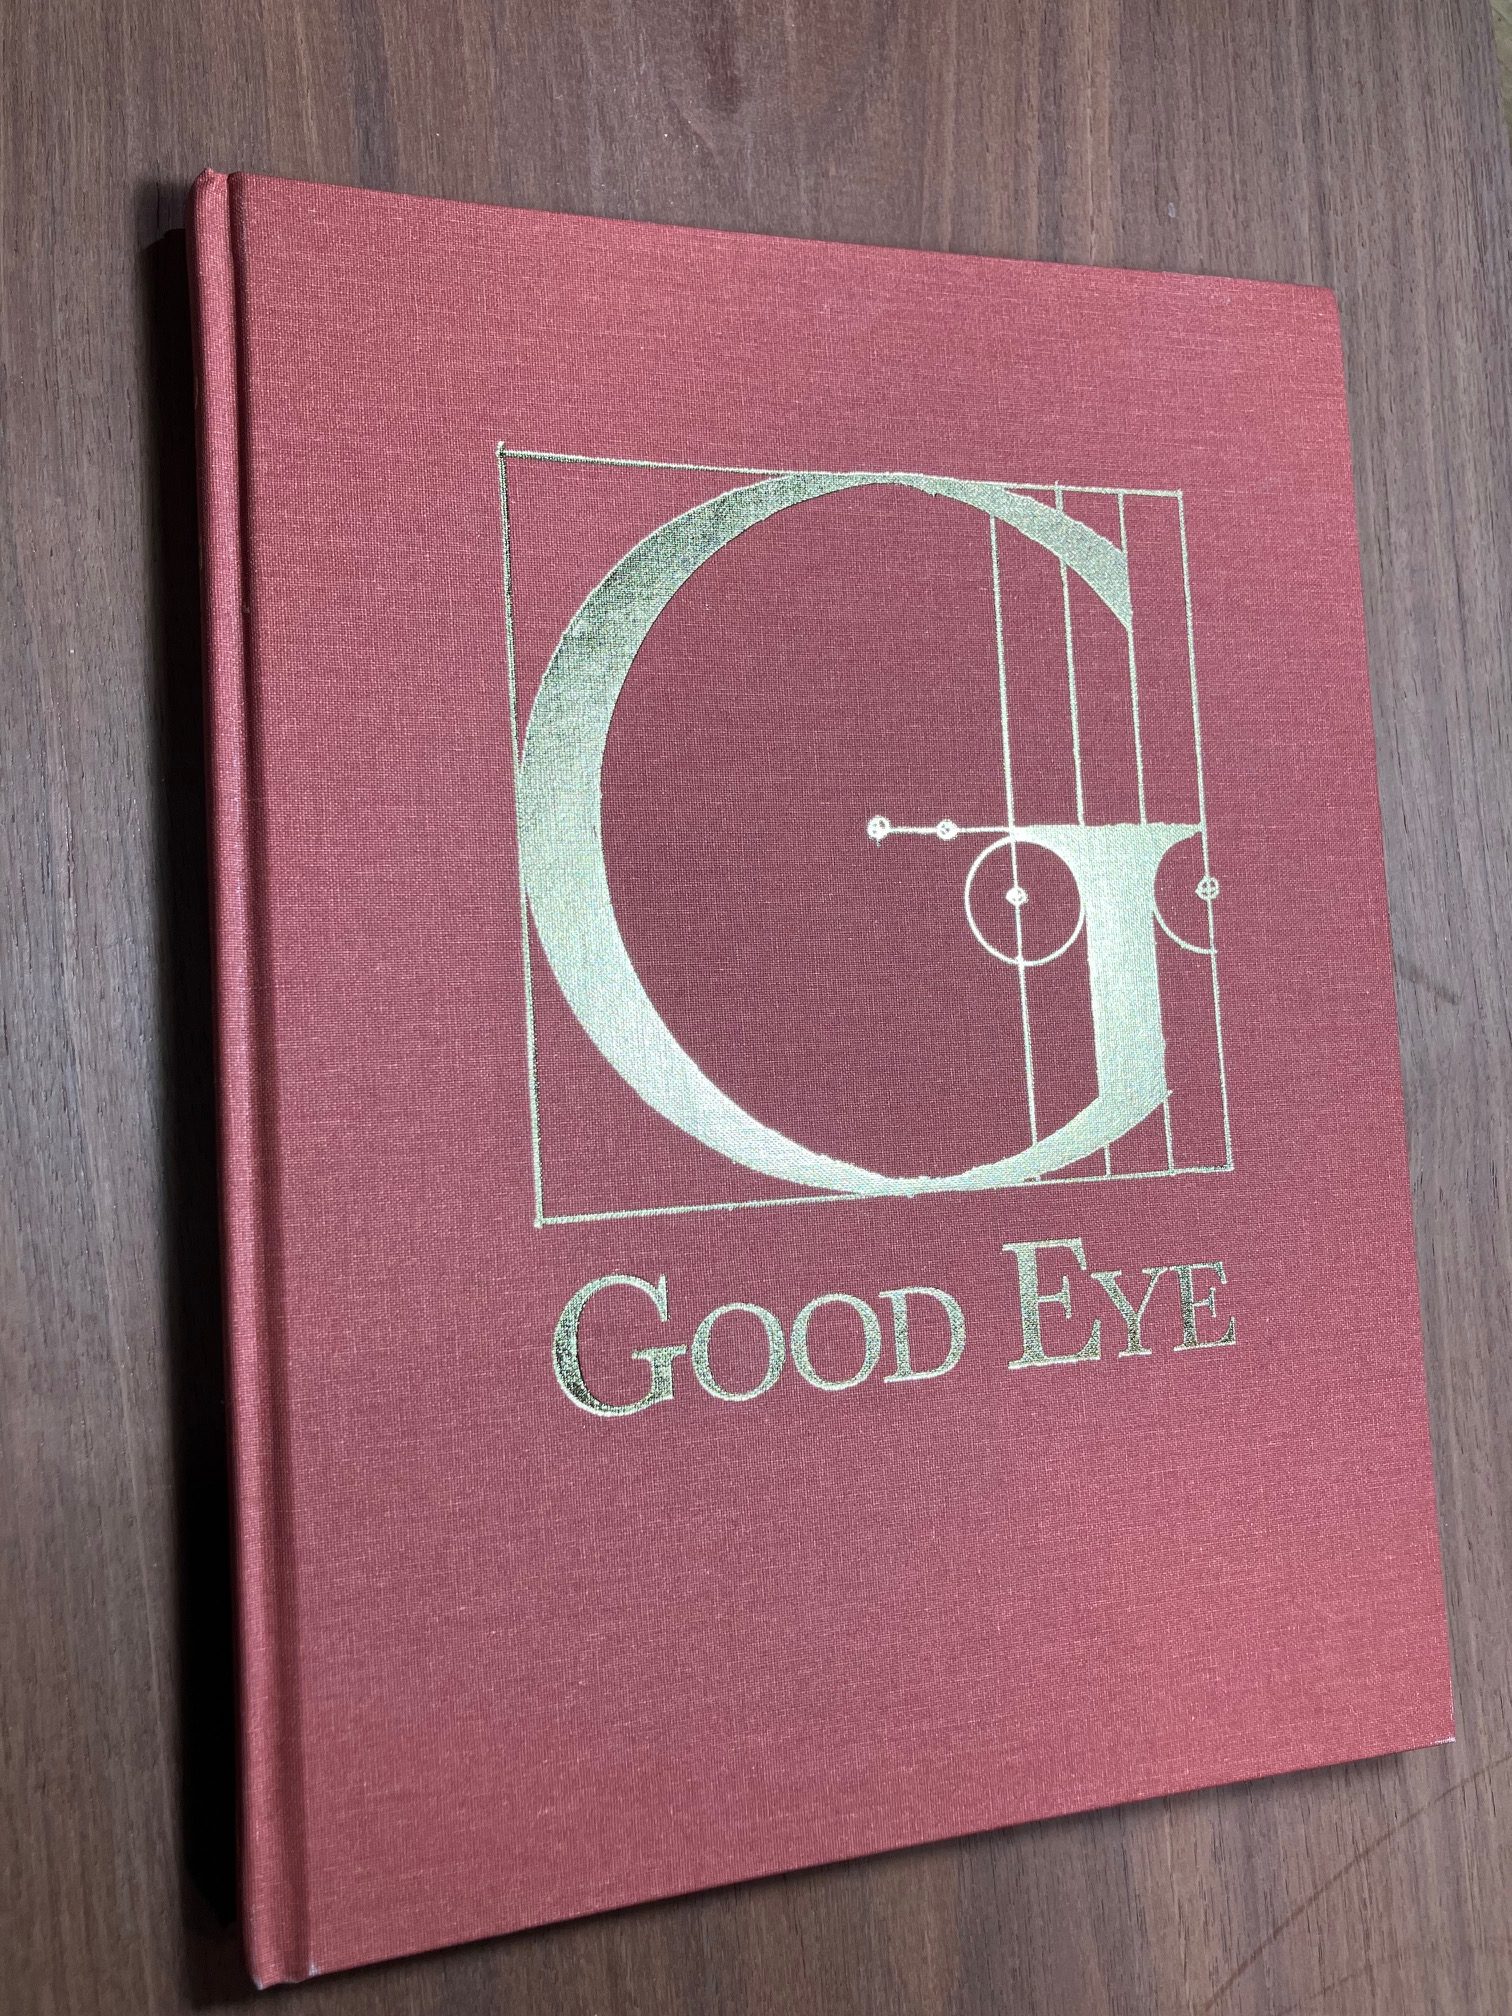
Good Eye by Jim Tolpin & Geo Walker
I once read that a good children’s book can be more difficult to write than a novel. On the surface that seems absurd. Yet, a child’s book must…

A Rose in the Workshop
A gift from Bonner to a budding woodworker On this this July 4th holiday I'm re-posting this tribute to a woodworker and mentor, Bonner Hall. Bonner Hall stooped…
Board Foot “Calculator”
Old-school method for calculating linear ratios such as board footage. This particular example is from "Deane's Doctrine of Naval Architecture" published in 1670. See the store page to…
Numbers Versus True
Geometry is a mysterious bird. The ancient geometers thought it mysterious because its secrets were like jewels that fell from the heavens. Though it’s the earliest form of…
UFO’s and Duct Tape
My Mother-in-law loved to watch TV shows about aliens and UFOs. She also thought you could fix anything with duct tape, even a leaky water line. It always…
Crooked Lines and Complex Curves
Would it surprise you to learn that an ordinary try square can take you to places far beyond simple rectangular boxes? In fact, learning how to unlock the…
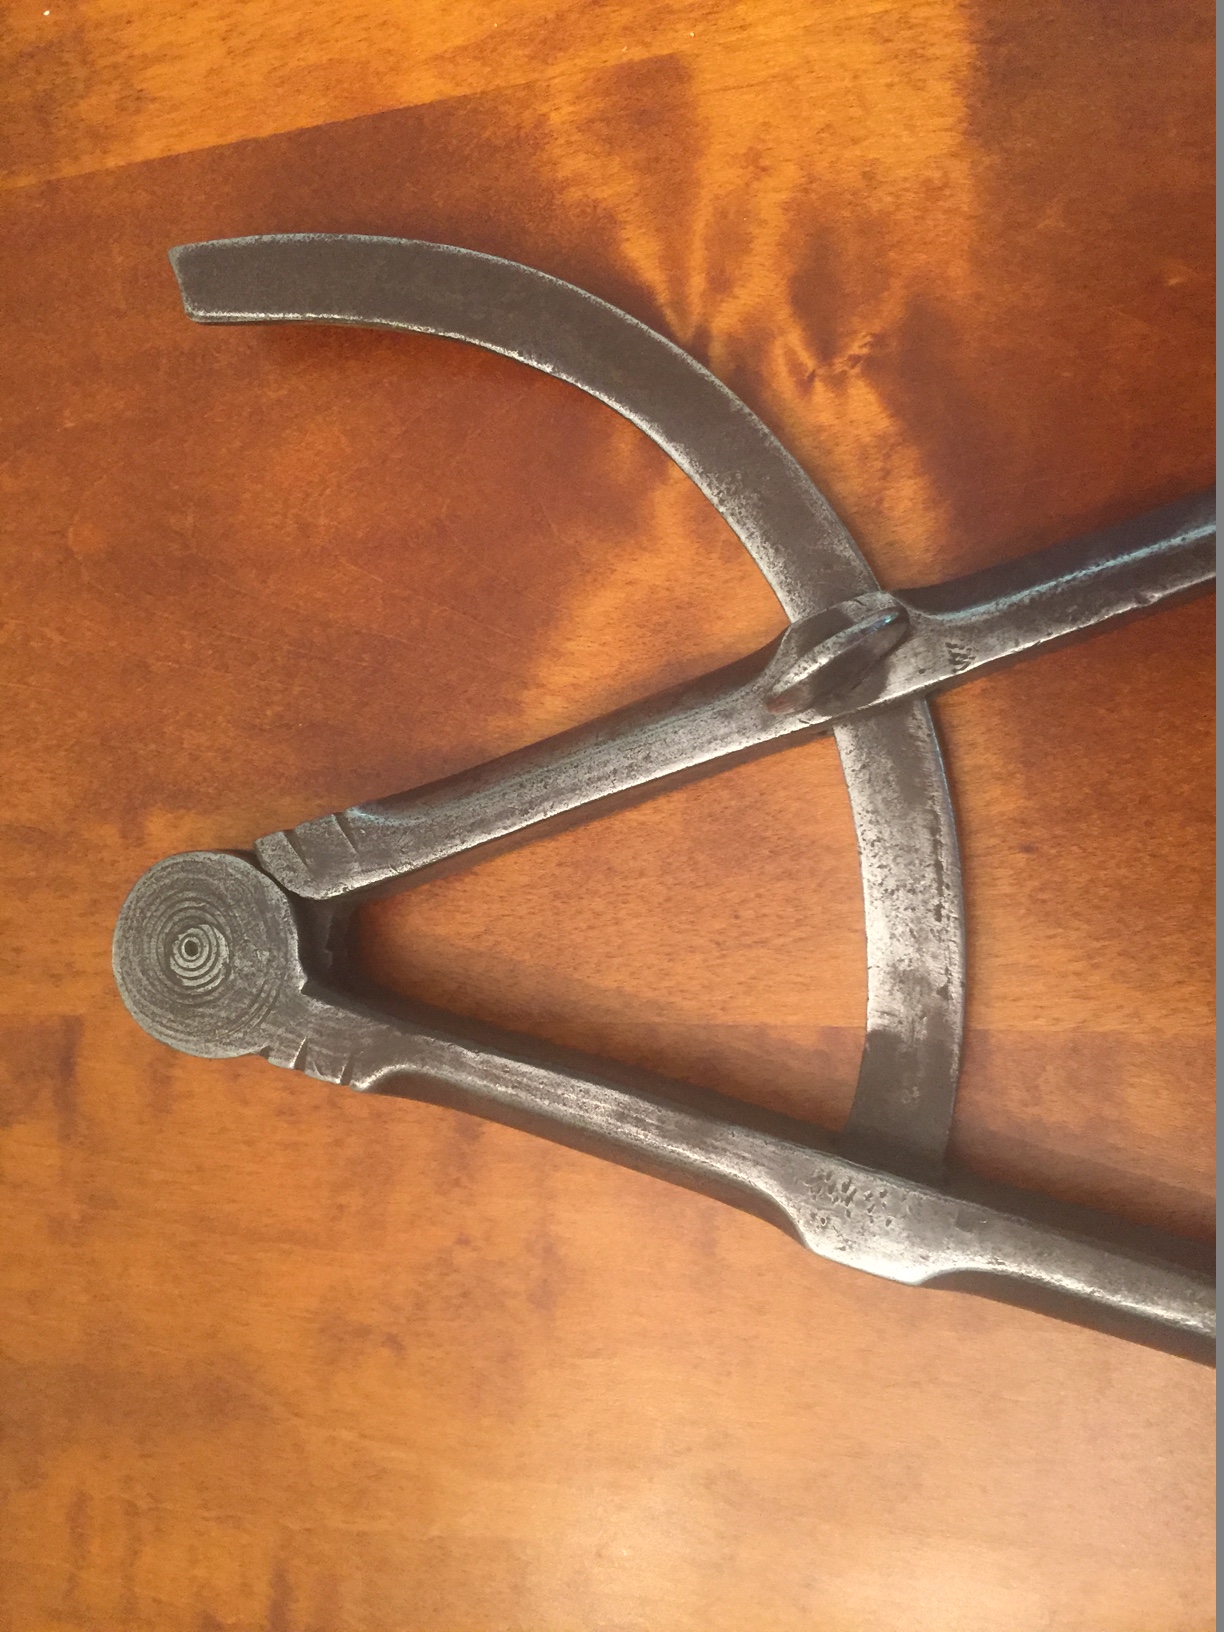
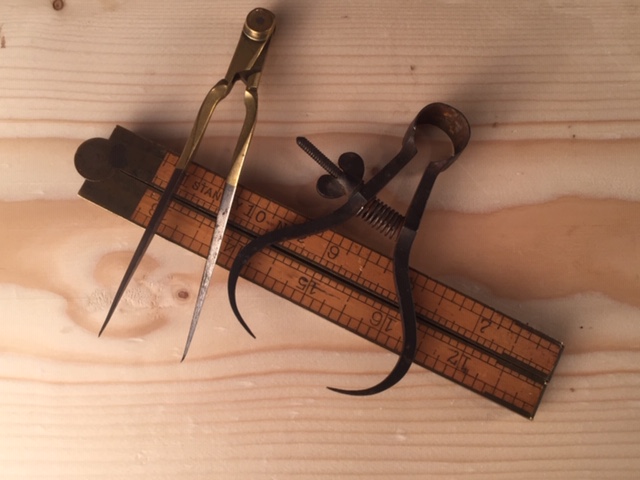
Mystery uncovered
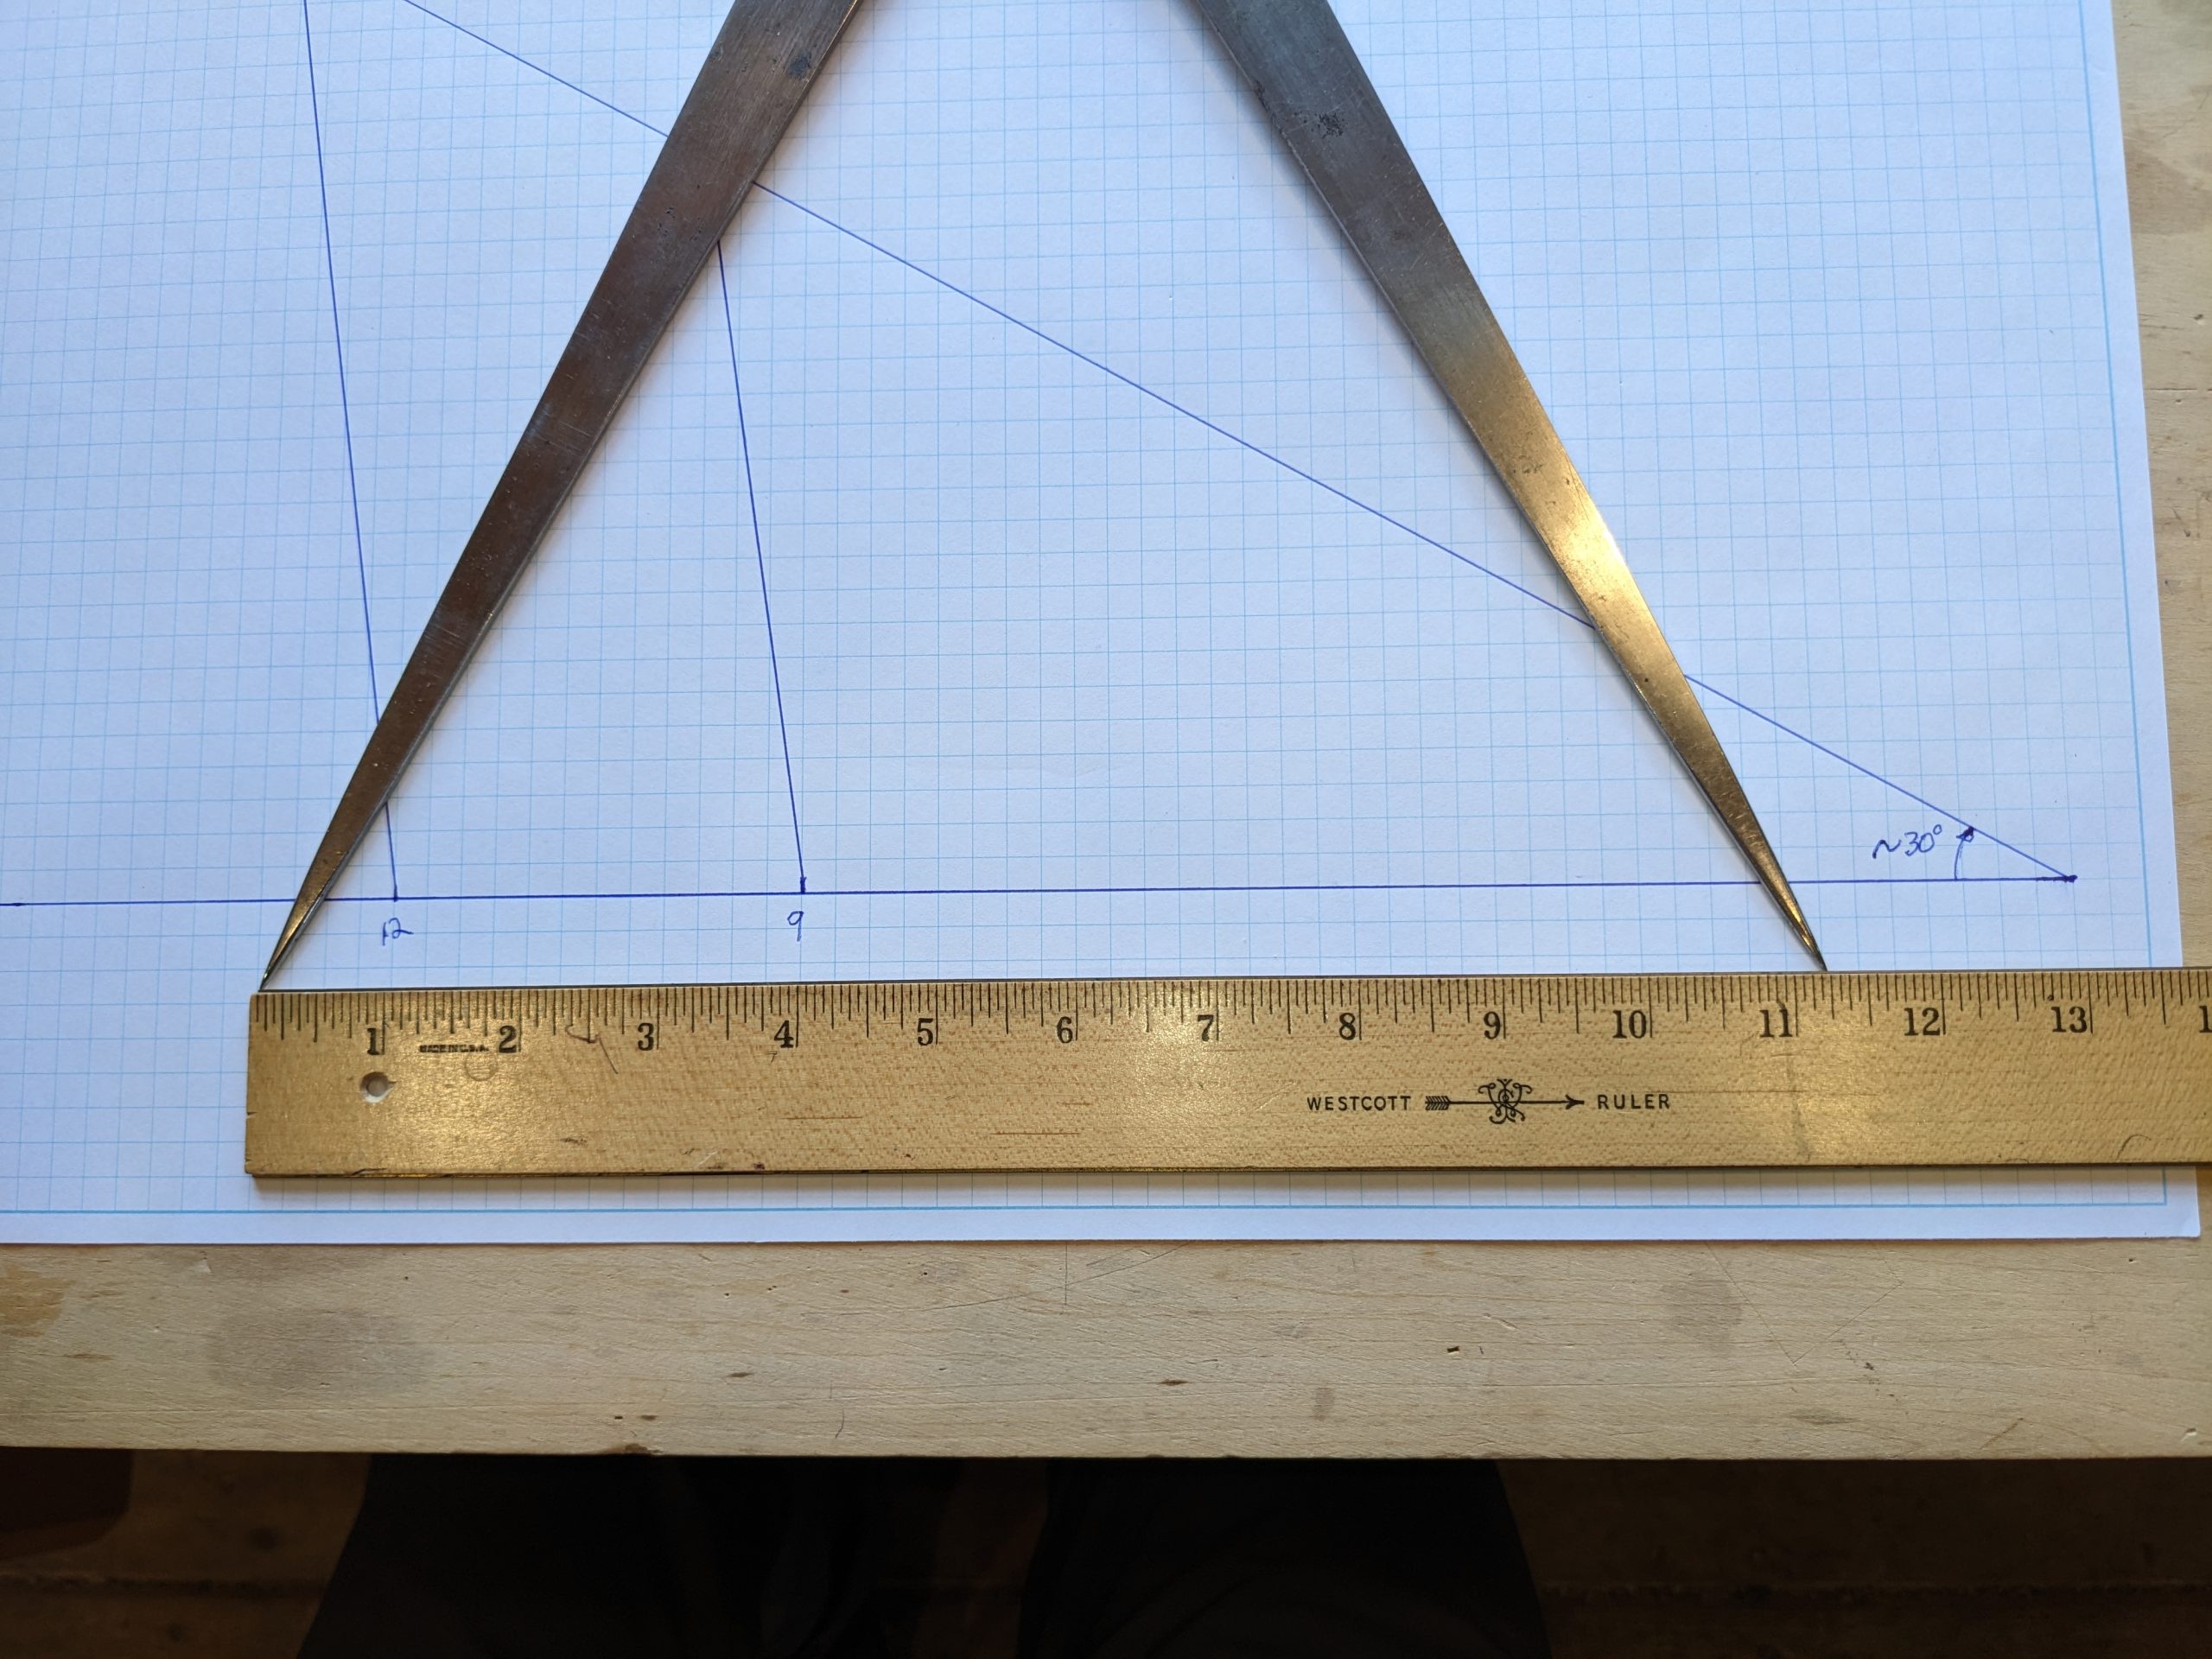
This is a bit more detail from an Instagram post I published about dividers. In some trades, especially carpentry work, dividers were sized to provide a quick job…
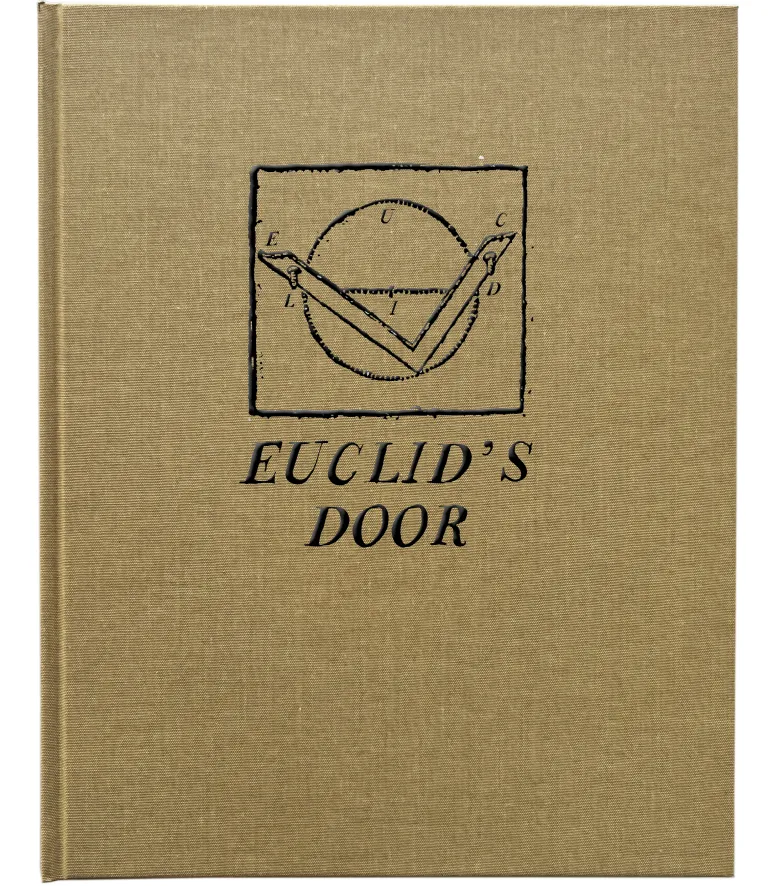
A look through Euclid’s Door
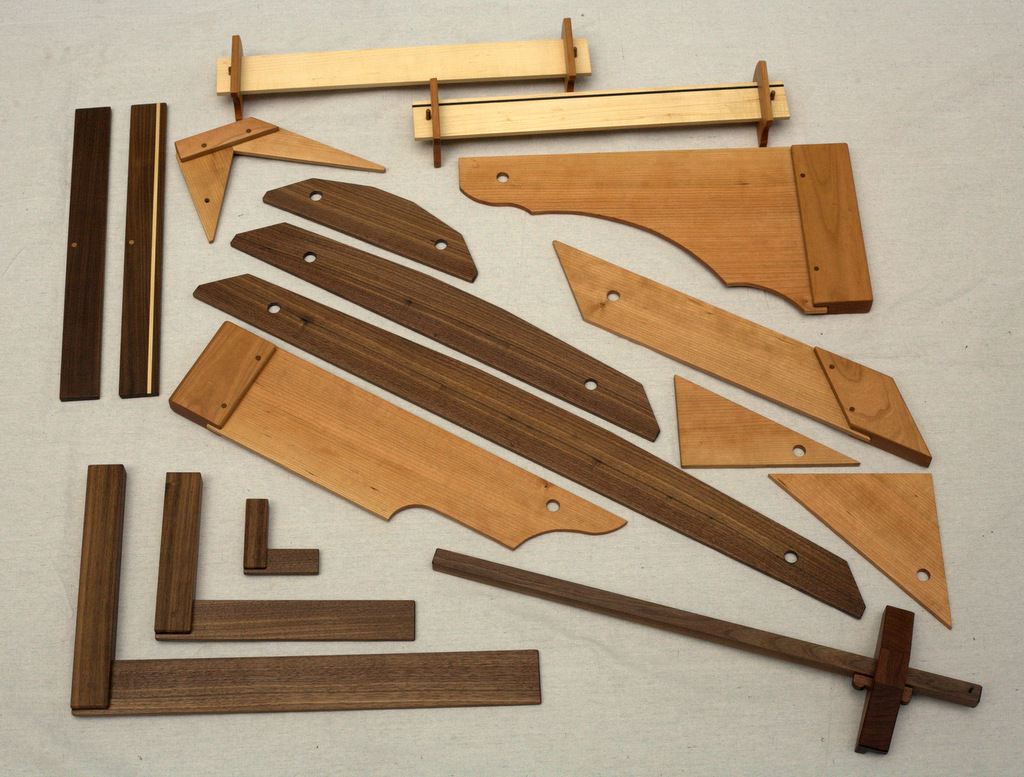
Our book Euclid's Door went off to the printer this week. It's a step by step guide to building a set of layout and design tools that were…
A silk purse from a Sow’s ear
Over at the Lost Art Press Blog, Chris Schwarz made a series of short videos about the pros and cons of the workbenches in his shop. It's a…